 Optical Fiber
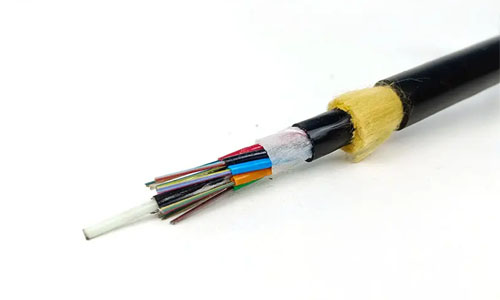 ADSS Fiber Optic Cable
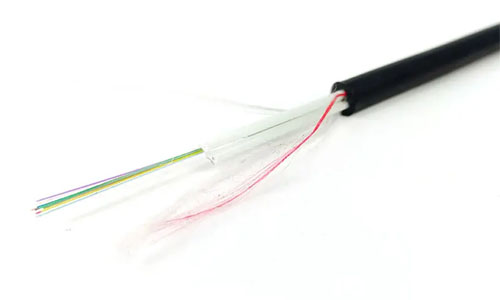 ASU Fiber Optic Cable
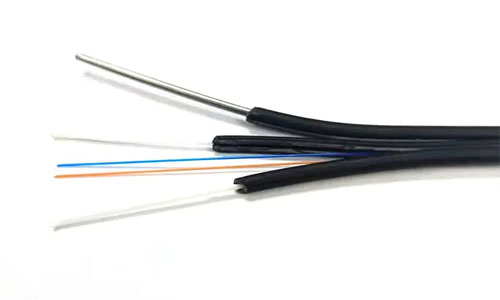 FTTH Fiber Optic Cable
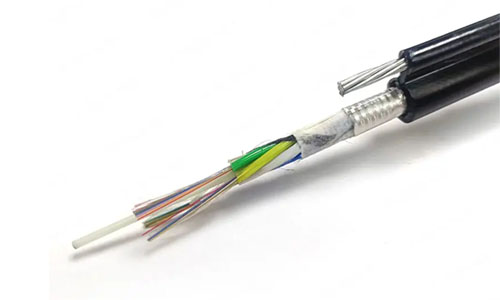 Figure 8 Fiber Optic Cable
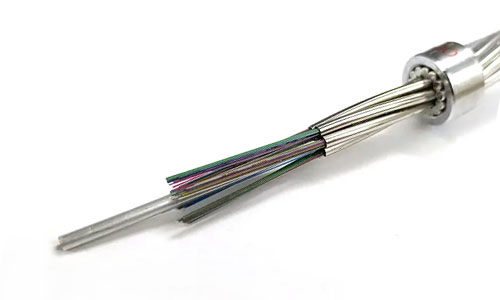 OPGW Fiber Optic Cable
 Coaxial Cable
 Ethernet Cable
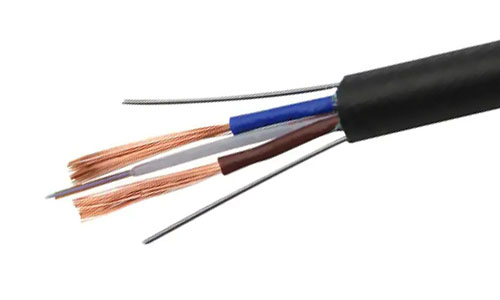 Photoelectric Composite Fiber Optic Cable
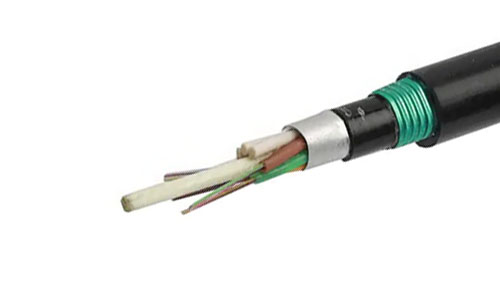 Underground & Pipeline Fiber Optic Cable
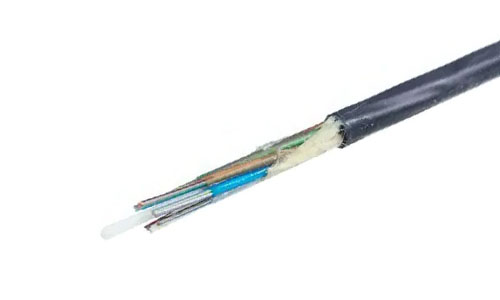 Air-Blown Micro Fiber Optic Cable
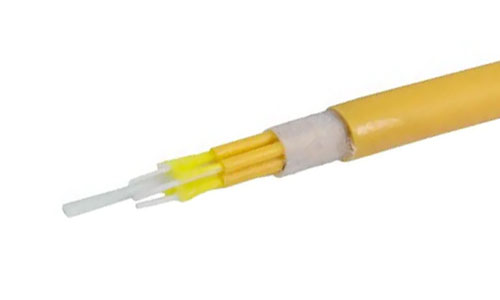 Indoor Fiber Optic Cable
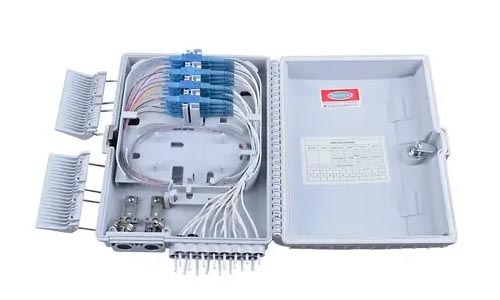 Fiber Optic Distribution Box
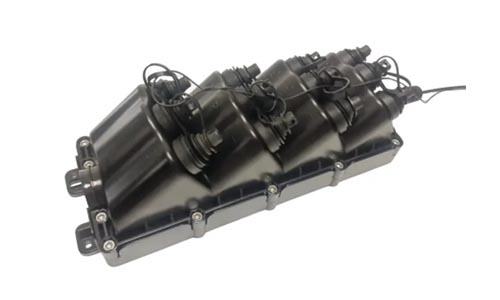 Multiport Service Termina Box
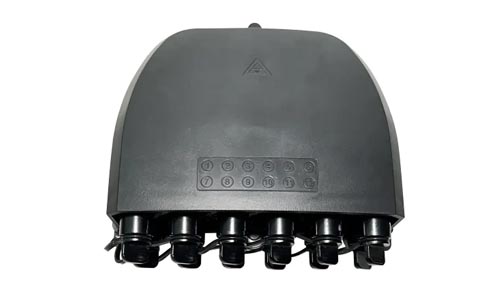 Fiber Optical Terminal Box
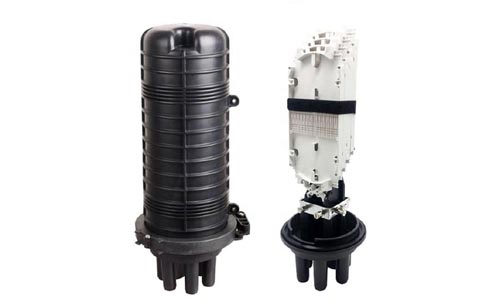 Fiber Optic Splice Closure
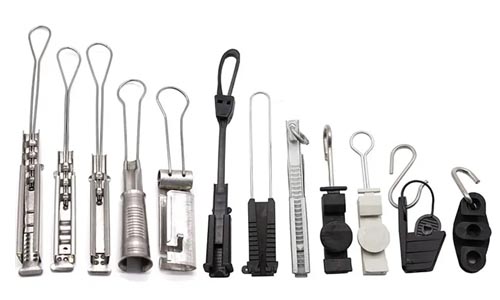 Fiber Optic Clamps
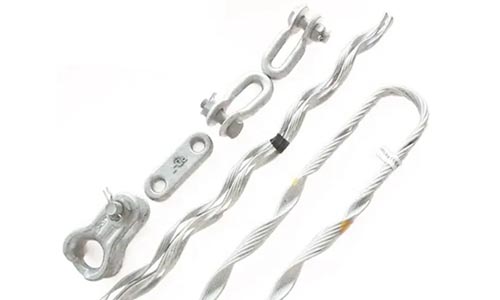 Fiber Optic Cable Fittings
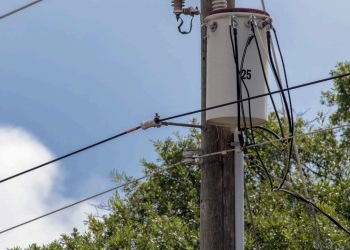 ADSS Fiber Cable
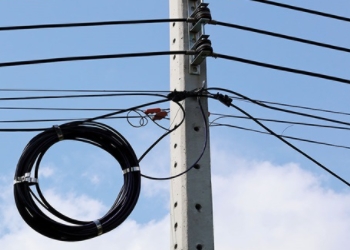 ASU Fiber Cable
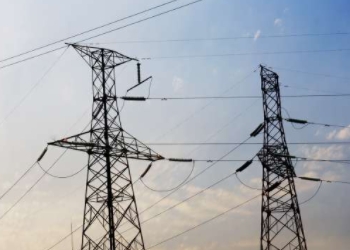 OPGW Fiber Cable
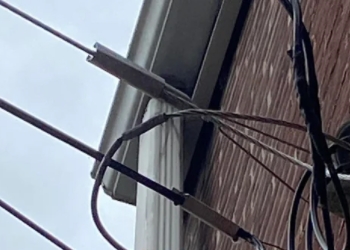 FTTH Fiber Cable
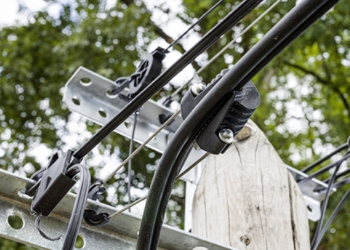 Figure 8 Fiber Cable
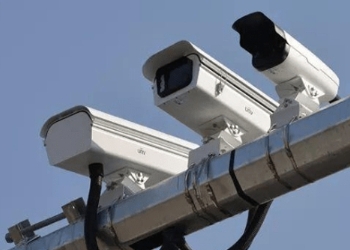 Photoelectric Composite Fiber Cable
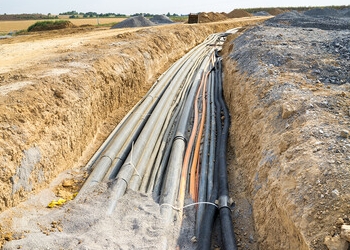 Underground & Pipeline Fiber Cable
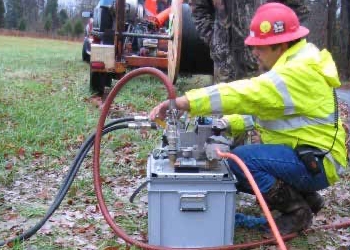 Air-Blown Micro Fiber Cable
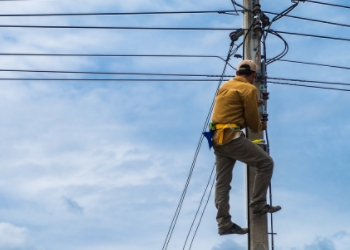 Aerial Fiber Cable
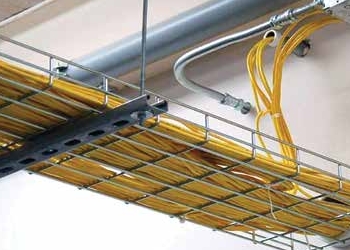 Indoor Fiber Cable
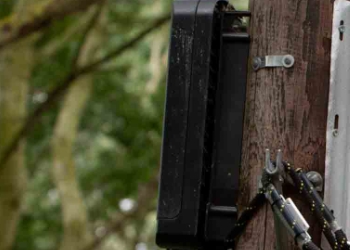 Fiber Optical Terminal Box
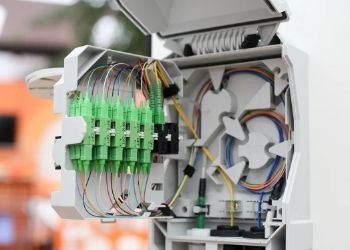 Fiber Optic Distribution Box
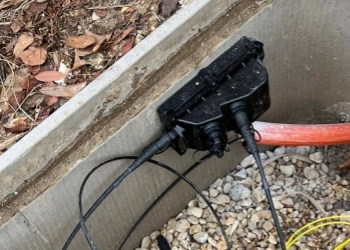 Multiport Service Termina Box
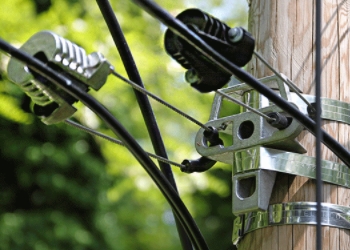 Fiber Optic Clamps
 About Us
 Our Team
 History
 R&D Strength
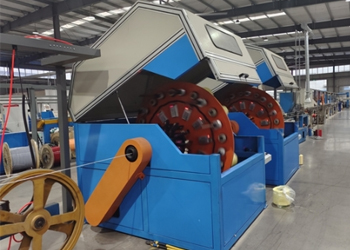 Production Base
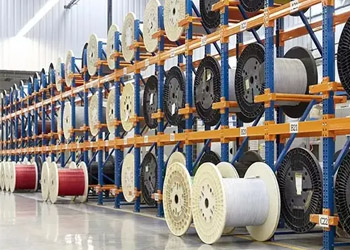 Warehouse & Logistics
 Quality
 FAQs
FAQsFiber Drop Cable Installation
FTTH (Fiber to the Home) drop cables are specifically designed for connecting the optical fiber cable from the distribution network to the subscriber's premises. Here's a guide on FTTH drop cable installation:

Understanding the FTTH Drop Cable:
FTTH drop cables typically consist of one or more optical fibers surrounded by strength members and a protective outer sheath.
Drop cables are usually lightweight, flexible, and designed for easy installation in various environments, such as aerial, underground, or inside buildings.
Preparation:
Plan the installation route, considering factors such as distance, obstacles, and accessibility.
Gather all necessary tools and materials, including the drop cable, cable clamps, brackets (for aerial installations), connectors, splice closures (if splicing is required), and installation equipment.
Installation:
Aerial Installation:
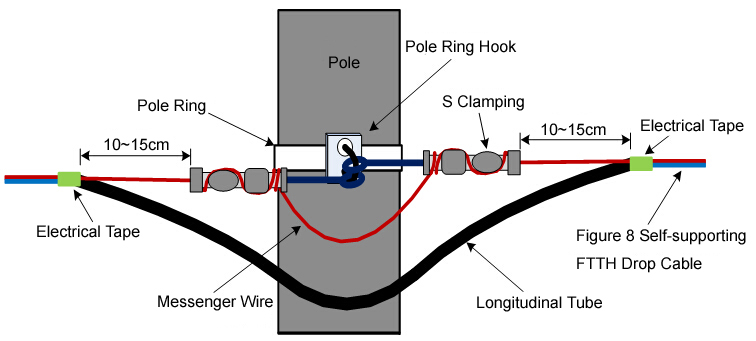
Secure the cable to existing utility poles or support structures using cable clamps or brackets.
Ensure proper tensioning to prevent sagging and maintain clearance from ground or other obstructions.
Underground Installation:
Dig a trench along the planned route, ensuring proper depth and width according to local regulations.
Lay the cable in the trench, taking care to avoid sharp bends or twists.
Use warning tape or markers above the buried cable to indicate its presence for future reference.
Indoor Installation:
Route the cable through conduit or cable raceways where necessary.
Secure the cable along walls or ceilings using appropriate fasteners.
Ensure that cable bends are within the recommended bend radius to prevent signal attenuation or damage.
Termination:
Prepare the cable ends by stripping the outer sheath and removing any excess strength members.
Terminate the fibers with connectors suitable for the application (e.g., SC, LC, etc.).
Follow manufacturer guidelines for connectorization and ensure proper cleaning and inspection of connectors to minimize signal loss.
Testing and Verification:
Use optical fiber testing equipment to verify the integrity and performance of the installed cable.
Conduct OTDR (Optical Time-Domain Reflectometer) or insertion loss tests to check for any signal attenuation or faults.
Ensure that the signal strength meets the required specifications for reliable connectivity.
Documentation and Labeling:
Maintain detailed records of the installation, including cable routes, termination points, and test results.
Label both ends of the drop cable to facilitate future maintenance, troubleshooting, and identification.
Cleanup and Restoration:
Restore any disturbed areas to their original condition, such as filling trenches or removing debris.
Dispose of waste materials responsibly in accordance with local regulations.
Final Inspection and Acceptance:
Conduct a final inspection to ensure that the installation meets all relevant standards and specifications.
Address any issues or deficiencies identified during the inspection before completing the installation process.

By following these steps, you can ensure a successful FTTH drop cable installation that provides reliable fiber optic connectivity to subscribers' premises.