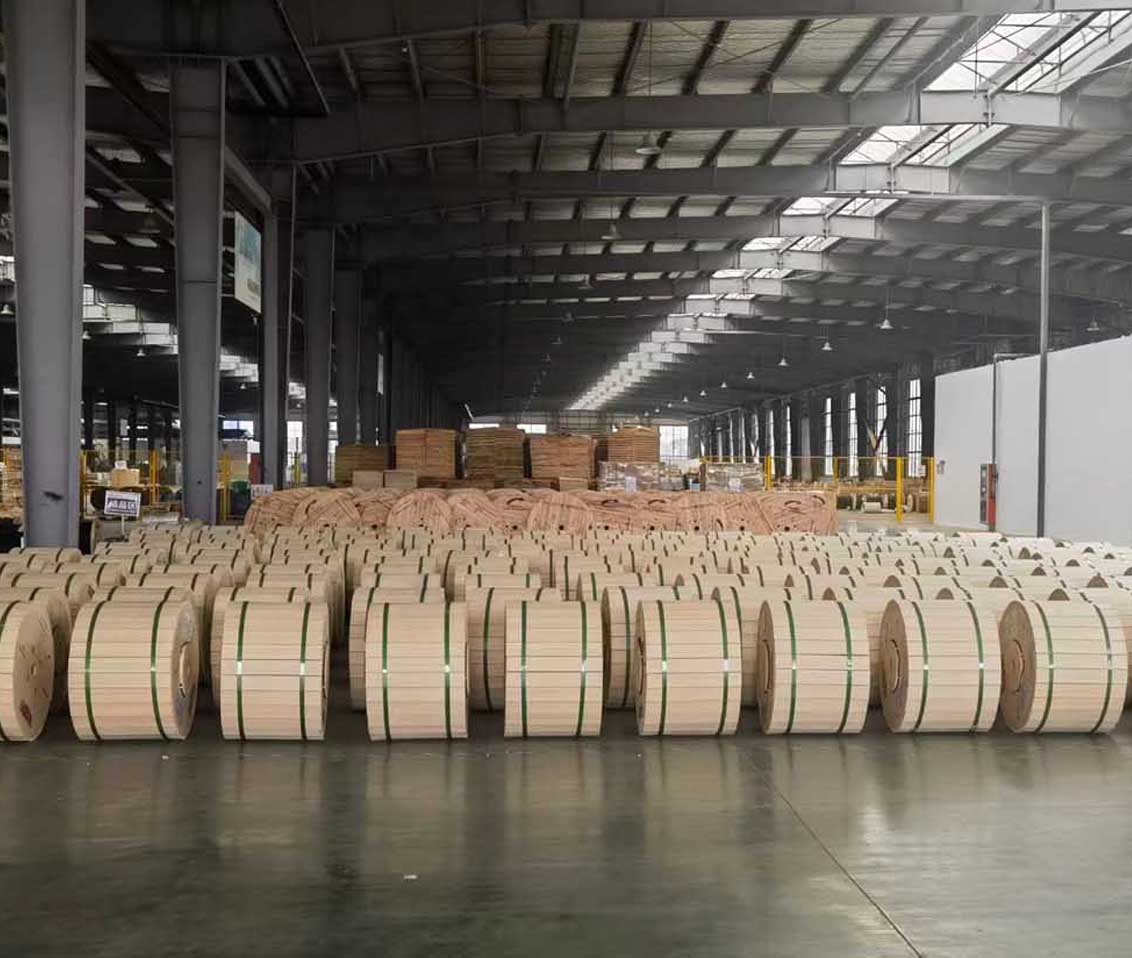
 Optical Fiber
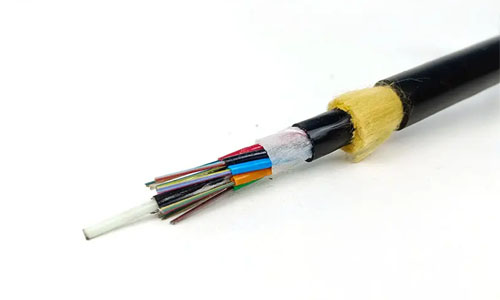 ADSS Fiber Optic Cable
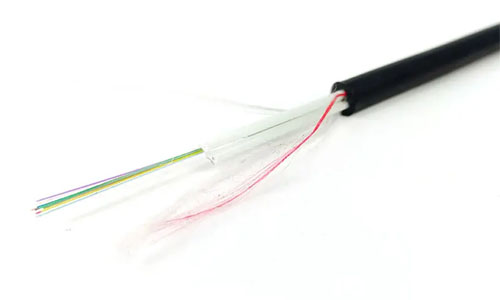 ASU Fiber Optic Cable
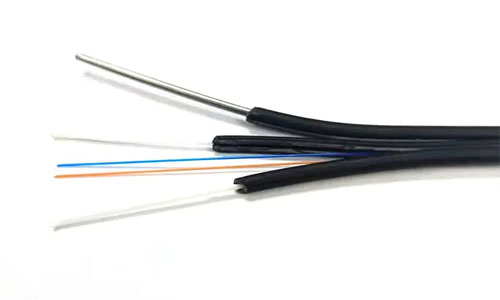 FTTH Fiber Optic Cable
 Figure 8 Fiber Optic Cable
 OPGW Fiber Optic Cable
 Coaxial Cable
 Ethernet Cable
 Photoelectric Composite Fiber Optic Cable
 Underground & Pipeline Fiber Optic Cable
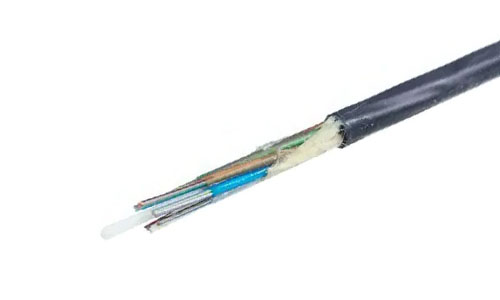 Air-Blown Micro Fiber Optic Cable
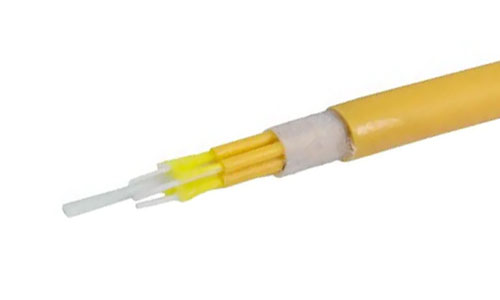 Indoor Fiber Optic Cable
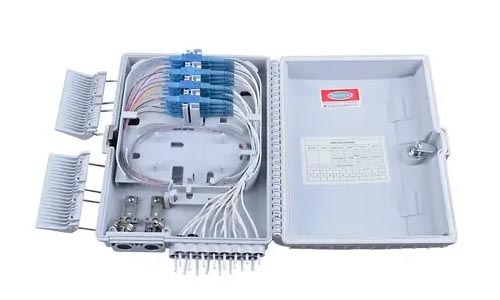 Fiber Optic Distribution Box
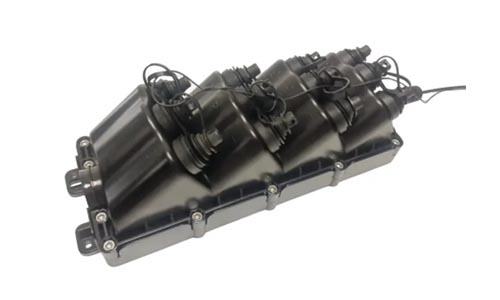 Multiport Service Termina Box
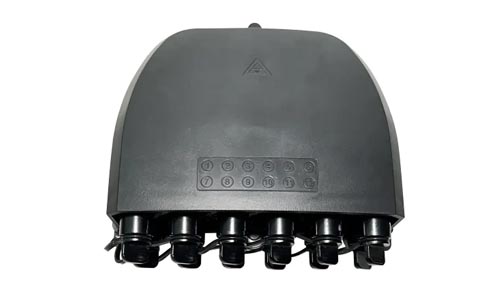 Fiber Optical Terminal Box
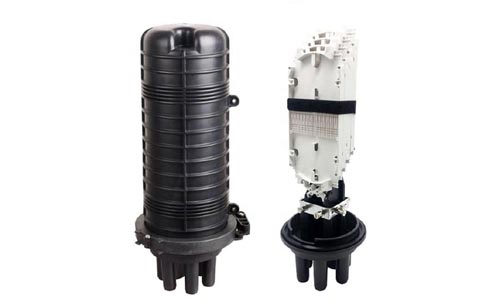 Fiber Optic Splice Closure
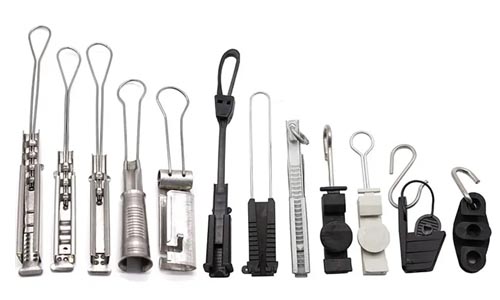 Fiber Optic Clamps
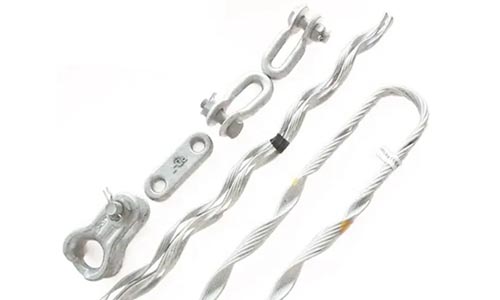 Fiber Optic Cable Fittings
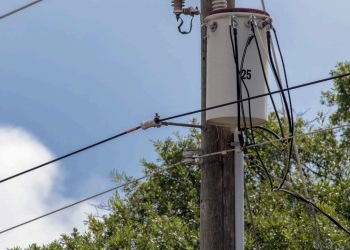 ADSS Fiber Cable
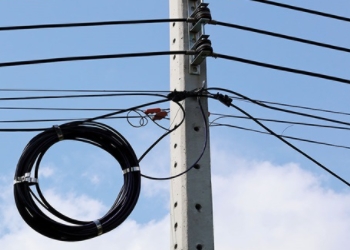 ASU Fiber Cable
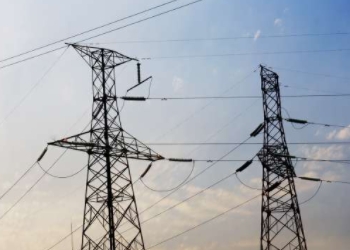 OPGW Fiber Cable
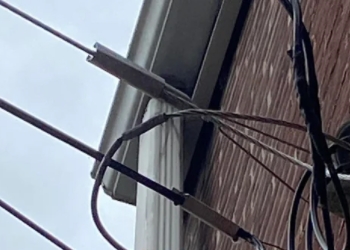 FTTH Fiber Cable
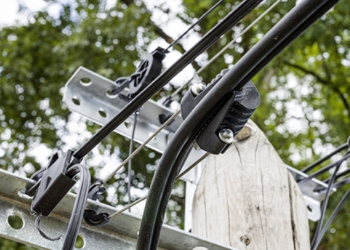 Figure 8 Fiber Cable
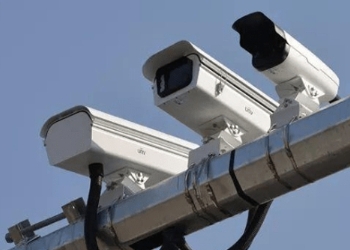 Photoelectric Composite Fiber Cable
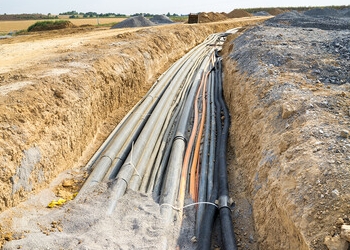 Underground & Pipeline Fiber Cable
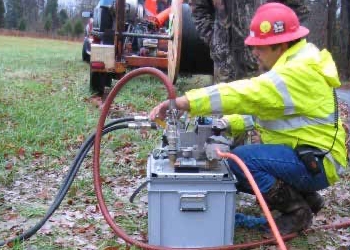 Air-Blown Micro Fiber Cable
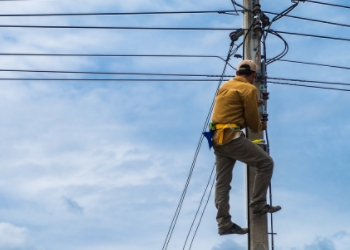 Aerial Fiber Cable
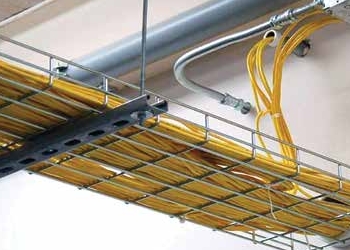 Indoor Fiber Cable
 Fiber Optical Terminal Box
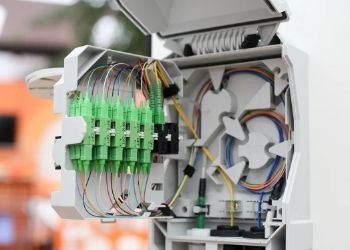 Fiber Optic Distribution Box
 Multiport Service Termina Box
 Fiber Optic Clamps
 About Us
 Our Team
 History
 R&D Strength
 Production Base
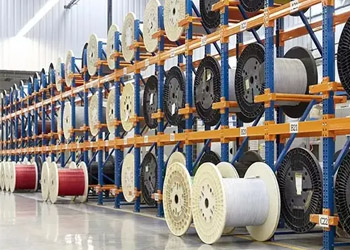 Warehouse & Logistics
 Quality
 FAQs
FAQsDirect Buried Fiber Optic Cable Installation and Maintenance Guide
Contact for Free Quotation & Sample, According to your needs, customize for you.
inquiry nowDirect Buried Fiber Optic Cable Installation and Maintenance Guide
Direct buried fiber optic cable is built with only the most simple of installations in mind. You can direct-bury it. You don’t need other pipes/trays for it.
This cable comes equipped with a ruggedized jacket and armor that provide maximum water ingress protection and dirt shedding capabilities. It endures harsh conditions for decades, whether in abrasive ground or extreme climates.
In the U.S., these direct buried cables are the preferred option for builders on projects that need to trench long distances. This involves work such as pulling new internet lines through empty pastures or along interstate highways.
People love this cable because it saves them money and time. For people planning projects in rural or city areas, knowing how direct buried fiber optic cable works can help choose the right setup.
The second half takes a deeper look at features that set this cable apart.

What Is Direct Buried Fiber?
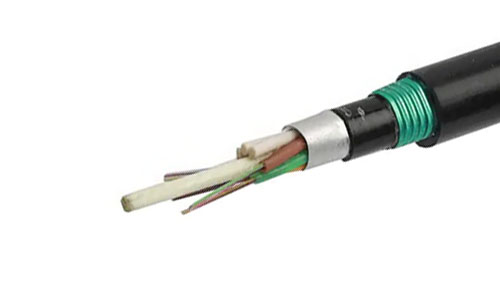
Direct buried fiber optic cable is a durable cable specifically designed to be placed directly into the earth. Unlike cables requiring a conduit or plastic micro drain for protection, this cable does not require additional support. It does great for outdoor projects, large deployments, or areas that require less disruption on the surface. Understanding how it’s constructed and what makes it work will better equip you to choose the right one.
1. Defining the Cable Itself
These cables are made with some pretty rugged materials. Inside, you’ll find a series of buffer tubes, each with 12 or 24 loose fibers. This arrangement allows for the highest efficiency of technicians and is one of the most prevalent common scenarios.
Water-blocking gels or tapes prevent rain and ground moisture from entering the cable, while heavy UV-resistant outer jackets prevent sun and soil ingress. To add protection, armored cables use a layer of steel tape or wire wrapped around the core. This prevents shovels, rocks, and yes even pesky critters from tunneling through.
Or you can find cables with termination that’s ready for quick connection, or no termination at all for a custom fit.
2. Key Construction Features Explained
Durability is a product of savvy engineering. Steel armor and high-density polyethylene shield the cable from crushes and jagged rocks. Unique Aramid yarn inner core significantly increases the pull strength, allowing you to lay it long distances.
Water-blocking layers maintain signal integrity by preventing water ingress. When you combine these elements, direct buried fiber is resilient to flooding, extreme heat or even polar vortex conditions.
3. How It Differs From Aerial/Conduit?
Put it in the ground, ditch the conduit—direct buried fiber saves moves. It saves as much as 75% in install time and cost compared to conduit or aerial deployments. In rocky or congested urban areas, it buries itself, sheltered from hurricanes or hooligans.
Once installed, it requires less maintenance, as it is subject to fewer hazards than cables hung on utility poles.
4. Why Choose Direct Burial Method?
With it being strong, hidden, and lasting through terrible conditions, direct buried fiber experiences less damage compared to aerial installation. City planners appreciate its clean aesthetic, as no wires would be suspended above.
Short-term, it’s easier and saves you cash. Long-term, it’s more economical and looks great permanently.
5. Common Cable Types for Burial
-
Armored loose tube: Best for rocky or rodent-prone soil.
-
Non-armored loose tube: Good for soft ground, low-risk spots.
-
Ribbon cables: High fiber count, fast splicing—great for big networks.
Loose tube cables are fine for almost any outdoor run. Ribbon types accommodate high-speed jobs. Choose strand count according to your data transmittance.
As always, you should choose your cable based on your soil conditions and climate.
Benefits of Going Underground
Moving fiber optic cables underground has obvious benefits to the owners of these networks and the people who use them. Whether under city streets or beneath rural fields, these cables perform far better than wires strung on utility poles. They avoid the quotidian dangers and disappear into the scenery.
Their contribution is particularly crucial in environments where conditions are harsh and demanding such as in inclement weather and where pedestrian-heavy environments are present. The upfront work may be more expensive, but the return on investment is measured in fewer future headaches and greater service over time.
Enhanced Physical Protection Factors
Direct buried fiber optic cables arrive loaded with protection. Such armored designs ensure the cables can withstand everything from boulders to excavation equipment, not to mention attempts at sabotage by the nibbling teeth of inquisitive prairie dogs.
Heavy-duty outer casings prevent water ingress, a crucial factor in areas prone to frequent or flash flooding. Burying these cables at depths up to 36 inches, as is common practice, can make them very difficult to access.
This depth provides a concrete barrier against accidents, tampering, and vandalism. Its robust design is an asset that ensures networks will enjoy a longer, more stable existence.
Reduced Weather and Storm Impact
Underground cables avoid the majority of the chaos that accompanies storms. There’s no danger from high winds, projectiles, or ice as you have with wires strung on utility poles.
Even in high-traffic urban cores or extreme conditions, imagine intense rainfall in Marrakech or desert surface dust, underground fiber remains secure. Thoughtful and meticulous installation helps prevent water and dust penetration that can lead to dirty and unstable signals.
The outages won’t spike in new stormy conditions, as these cables are protected from extreme weather.
Cleaner Look, Less Visual Clutter
With cables buried underground, communities have a cleaner appearance. No spaghetti mess of wire above the street, no utility pole hiding palm trees or store signage.
Planners can take care to route fiber so that parks, courtyards, and historic city walls remain undisturbed. Cleaner look, less visual clutter.
It’s a common sense fix that creates winners of homeowners, business owners, and city planners.
Potential Long-Term Cost Advantages
Though both digging and burying cables is more expensive initially, the savings accumulate as time passes. There’s reduced demand for repair crews because underground fiber isn’t pummeled by hurricanes or sliced by truck drivers.
With fewer outages, there is less time lost and fewer emergency repairs required. That consistency builds over time, making underground fiber a safer investment for developing metros and bustling agri-hoods along thriving rural highways.
Planning Your Direct Burial Project
There’s actually a lot more to getting direct buried fiber optic cable in the ground than simply digging a trench. Effective planning helps ensure the project remains on-time, on-budget, and with minimal risk. So before your first shovel hits the ground, work out where the cable is going to go.
Plan for the local regulations, and select the right type and thickness of cable armor, which can survive the surroundings in which you’re installing.
Smart Route Planning and Surveying
Properly mark all existing utilities and infrastructure before planning your route. Steer clear of places with dense root systems, rocky ground, or high-road traffic. Allow for smooth radiuses of detours or curves in the project to avoid damaging cables with sharp bends.
Leverage GIS technology to identify the overall project landscape and identify the best routes. Site surveys are not a mere checkbox requirement. A site walk-through will help you identify hidden drains, a sprinkler system, or areas that become boggy after heavy rain.
In cropland areas, install cables to a minimum depth of 36” to avoid farm tillage implements. A good pre-survey avoids open landmines.
Know Your Local Soil Conditions
Sandy soil drains quickly but shifts easily, while clay holds moisture well and can freeze very solid. Soil test results can determine whether a trench needs to be deeper or require special armor. If the earth is rocky, or if the frost line is deep, you may be digging down 3–5 feet.
Never assume cable bend radius—fiber is very sensitive to tight bends.
Navigate US Permits and Regulations (811!)
Notify the appropriate utilities and authorities by calling 811 before you dig. It’s the law and prevents you from hitting water or power lines. Permits may require route maps, trench depth (typically 18–36 inches), and evidence of notifying utility locators.
Some local codes will require you to use warning tape or other specific markers.
Select the Right Cable Armor
Think about soil type, water exposure, and rodent risk. Steel armor stops chewing and crushing, while polyethylene armor helps block moisture. Use armor strength that is appropriate for your trench depth and ground conditions.
The right armor translates to longer cable life and less downtime to replace the cable.
Installing Direct Buried Cable Correctly
Proper installation of a direct buried fiber optic cable takes time, effort and expertise. It’s not that easy—just digging a hole and dropping the cable in won’t cut it. A proper installation always begins with a thorough pre-survey of the route.
This process not only helps identify the most advantageous route, but identifies obstacles including roadways or streams, and determines the most effective depth. Installation installers experienced teams equipped with appropriate training and tools are integral to ensuring safe, smooth installations.
Adhering to industry best practices and industry safety regulations protects people and cable. Safety gear such as hardhats, cones and barricades are essential to protect the crew. They protect the cable as well, especially when the reels are laying on concrete.
Trenching vs. Plowing Installation
With trenching, you dig a narrow trench, whereas with plowing, you cut through the ground and drop in the cable all at once. Trenching provides unambiguous surface access, it is time-consuming and may significantly disturb the installation environment.
Trenching is slower and more disruptive but more versatile, as it can be done in any conditions. Choosing the right installation method should take soil type, available space, and weather conditions into account. Site inspection is critical for proper selection.
Meet Proper Burial Depth Rules
Standard depth is 18–36 inches for most areas. For croplands and pastures, the depth should be at least 36 inches. Never bury cable less than 12 inches deeper than the reach of farm equipment.
Adjust depth for local freeze lines. If cable is too shallow, it can be easily sliced or damaged, leading to performance issues. With measuring buried cable correctly, local codes determine the rules, so it’s important to measure correctly.
Handle Cable Slack and Bends Safely
Not leaving enough, or in some cases, too much slack can lead to failure down the line. Tight bends or kinks hurt fiber worse than copper. Plan bends in advance, make them smooth and gradual, and support cable with soft ties.
Why Backfilling Technique Matters Greatly
Proper backfill, such as sand or sifted soil, protects against shifting rocks and moisture. Without proper compaction, the earth is allowed to settle and shift, putting your cable in danger of damage.
Never leave a job without inspecting after you backfill the cable.
Use Markers for Easy Locating
Use bright, weatherproof markers. Place markers at turns, crossings, and access points. Keep a detailed map.
Markers stop dig-ins later and make repairs fast.
Protecting Your Buried Investment
While direct buried fiber optic cable provides resilient, reliable, high-speed connections, protecting them requires careful action to ensure they remain safely buried. In Marrakech, changing soils and the frenetic urban life can put cables at risk.
Fortunately, with some foresight and preparation, you can make sure these dangers don’t impact your event. These cables are usually installed 12 to 36 inches underground, protecting them from most weather-related and theft-related issues. However, they’re not completely protected from the dangers of digging, pests, or accidental human error.
The Critical Role of Armor
Armor provides an extra layer of protection for fiber optic cables. In climates with extreme digging, shale, or where rodents like to gnaw, armored cables last longer.
For instance, high-construction areas or areas with high animal activity require steel tape or corrugated armor. Picking the right armor means looking at the soil type—sandy, clay, or rocky—and thinking about planned roadwork or future projects.
Prior to cable installation, armor testing provides a check that prevents costly surprises down the road.
Use Warning Tape the Right Way
Best practices for warning tape include laying tape at least 12 inches above the cable. Additionally, using bright colors, like yellow or red, is crucial.
Printing clear warning labels in local languages can further enhance visibility. It’s also important to check tape placement before backfilling trenches.
Properly placing tape at the correct depth will alert would-be diggers before they reach the buried cable. A brightly colored, highly visible tape ensures that no one overlooks it.
Install Marker Posts and Locators
Marker posts indicate where cables are buried so that anyone can find them easily. This is critically important along wide, fast roads or near large development.
These locators assist workers in identifying buried cables while making repairs. For best results, put posts at turns, joins, or at regular points.
Using weather-proof posts is essential, and ensure that marker posts are not obscured by vegetation or soil. Checking markers every few months keeps them visible.
Stop Rodent and Pest Damage
To prevent infestations, select cables with durable, rodent-resistant sheaths and watch for signs like fresh burrows or chew tracks.
In heavily cultivated regions, traps or non-lethal repellents can be effective solutions. Keeping an eye out for signs of pests allows you to address minor issues before they become a serious threat.
Environmental Factors to Consider (US Focus)
Direct buried fiber optic cables are crucial for keeping data flowing quickly and reliably. Every project in the U.S. Faces its own distinct environmental obstacles. With climate, soil, water, and ecosystem vastly different from coast to coast, there isn’t any one-size-fits-all solution.
Before you aim your bulldozer, do the work upfront to know what’s below and around you. This simple act can save you from incurring expensive mistakes and safeguard sensitive land.
Soil Types Across the United States
-
Clay: Dense, holds water, tough to dig, can crush cables.
-
Sand: Drains fast, but shifts and may expose cables.
-
Loam: Fine mix, stable, often ideal for burying cables.
-
Rocky: Hard to trench, may damage cable during install.
-
Silt: Fine, holds water, risk of shifting and washouts.
Soil type determines how deep and wide crews need to dig, what type of backfill they need to use, and how long the cable will last. As an illustration, Florida’s beaches of sandy soil require anchors and the clay of the Midwest requires strong protection.
Always conduct soil testing prior to undertaking a project. Unexpected surprises underground can waste time and money.
Deal with Frost Heave Challenges
In regions with extreme freeze-thaw cycles, such as Minnesota or upstate New York, frost heaves can force cables upwards, potentially breaking or straining them. Solutions include burying cables a minimum of 24 inches deep, utilizing insulation, or laying cables beneath the frost line.
Regular inspections in frost heave areas help to ensure continued safe operation.
Manage Water Table and Drainage
A high water table or poor drainage can spell water damage or signal loss. Proper drainage prevents water on cables from soaking through the mantle and destabilizing the cable.
Best practices include:
-
Use water-tight conduit.
-
Add gravel or sand for drainage.
-
Avoid low-lying flood-prone paths.
Check drainage often, especially after storms.
Minimize Impact on Local Ecosystems
When working in sensitive habitats, there’s an increased need for caution. Immerse environmental monitors, route cables to avoid wetlands, hand-dig around roots and restore land afterward.
Environmental reviews catch problems at the outset. Recycled plastic in cables and smaller project footprints help protect wildlife. Local voices make a difference—engaging in conversation with fellow residents and knowledgeable experts will help you make the smartest decision.
Essential Testing and Quality Checks
Quality assurance of fiber optic cables should not be treated as a checklist item. It’s a critical step to ensure your network remains robust and dependable. Direct buried fiber optic cable encounters hard odds in hotbeds such as Marrakech. The grueling elements consist of blistering sun, choking dust, and unstable earth. That’s why testing and quality checks are so important.
Test Cables Before Installation
Before putting any cable in the ground, it's smart to run a set of tests.
-
Test for fiber continuity with a VFL.
-
Measure optical power loss with a power meter.
-
When it comes to diagnosing faults or bends, try an Optical Time-Domain Reflectometer (OTDR).
-
Inspect for any physical damage.
Reviewing specifications early on allows for identification of potential weak areas and saves you from larger issues down the line. Most teams maintain a record of these test outcomes. That way, if there’s trouble down the road, you know what the cable looked like before it ever touched dirt.
Verify Performance After Installation (OTDR)
Once the cable’s buried, an OTDR becomes your most valuable tool. It transmits light pulses through the fiber and plots out the location of any signal degradation or breakage. Industry standards recommend testing at the 1550nm wavelength to detect stress losses.
Post-install, always check:
-
Signal strength over the run.
-
Locations of splices, bends, or breaks.
-
Power levels at endpoints.
If you notice anything incorrect, repair it promptly. Continue monitoring the system with routine tests so you identify problems before they develop.
Ensure Long-Term Signal Quality
Ensuring long-term signal quality doesn’t stop after the first day. Maintenance is crucial, especially considering Morocco’s challenging terrain. Regular checks help:
-
Watch for water or moisture.
-
Spot rodent or insect damage.
-
Track ground shifts or construction impact.
Prevent issues before they start by regularly cleaning connectors, maintaining a log of test data, and using the latest equipment. In this manner, your underground fiber continues to perform consistently over time.
Maintenance and Troubleshooting Insights
DIRECT BURIED FIBER OPTIC CABLES BUILT TO TAKE A BEATING. Proactive maintenance is key to protecting their integrity and keeping them safe and sound for generations to come. Once those cables are in the ground, the hard work really starts. This is particularly the case in locations with expansive or otherwise moving soil, or underdeveloped urban landscapes.
Regular inspections, preventative innovative maintenance repairs, and accurate documentation equate to many years of trouble-free use.
Implement Routine Inspection Practices
-
Walk the entire length of the cable route and be on the lookout for areas of ground sinking or recently dug up.
-
Inspect handholes and markers to ensure proper identification is visible and that access is clear.
-
Fibre should be tested with advanced tools such as OTDRs and power meters to ensure the health of all cables.
-
Look out for areas where water collects, a sign that an issue could arise down the line.
-
Ensure cable burial depth complies with local regulations. 18 to 36 inches is typical, but some areas require deeper burial.
-
Document every inspection, even if things look fine.
Writing down everything you observe allows you to identify patterns and schedule repairs before they become a major issue. These logs are useful when onboarding staff or troubleshooting complex repairs.
Innovative technologies, such as GPS mapping capabilities and mobile applications, improve a new inspection process that is quicker and more precise. It’s a good idea to schedule some refresher training for your crews, so they’ll all be aware of things to watch for.
Locate Underground Cable Faults
Finding a fault doesn’t just depend on assuming where the roadworker was last digging. Use OTDRs to locate trouble spots and tone generators for line tracing. Only trained, skilled technicians know how to interpret test results and track issues down quickly.
Fast response minimizes service interruptions and ensures customer satisfaction.
Repair Damaged Cable Sections Properly
-
Cut back to clean fiber ends.
-
Use water-tight splices and good-quality closures.
-
Test with OTDRs before closing up.
-
Take notes on what you fixed and how.
Using genuine OEM parts and thorough quality-control testing ensures these repairs are done to be durable. Time is saved by having records available in case the same place misbehaves again down the line.
Future-Proof Your Buried Network
Future-proof by choosing cable paths with space for future cables. Always leave extra slack in ducts and map everything out with care. Prepare for the future with more speed and more users.
-
Use modular ducts and handholes.
-
Label every run and test point.
-
Don’t miss out on the next big thing, such as improved fibers or connectors.
Annual maintenance inspections can identify emerging requirements before they become roadblocks to productivity.
Conclusion
The de facto standard remains digging deep and laying cable direct buried, which provides robust, high-speed connections that can endure decades. Americans farm, ranch and work on these direct buried fibers, and the people who fight fires do so over this vital infrastructure. It’s great for rural back roads too, where poles create a hazard. Be it mud, extreme cold, or dry heat, these cables continue to perform. A solid design from the get-go and a watchful eye during construction prevents the migraines after. A lot of it is just quick checks and easy fixes that keep the internet running. Listened to tales of South Dakota ranchers liveblogging from beyond the corn belt and city crews exchanging data quicker than light beneath city streets. Looking to improve your own installation and in-house expertise? Talk to a local professional or see what works best for your soil. So don’t let slow hookups stop you from advancing.
Frequently Asked Questions
What is direct buried fiber optic cable?
Direct buried fiber optic cable is a type of cable, designed specifically, to be directly buried into the soil. It requires no additional conduit. Its rugged jacket wards off soil, moisture and other dangers that lurk underground.
How deep should I bury fiber optic cable in the US?
How deep should I bury fiber optic cable in the US. This approximately 24-inch depth provides a layer of protection from climate impacts and unintentional damage.
What are the main benefits of direct buried fiber?
This creates a tough, durable layer, providing optimal protection against weather elements, acts of vandalism and animal chewing. It further protects her from temperature fluctuations and costs less to maintain than aerial cables.
Do I need special tools to install direct buried fiber optic cable?
You will need some specific trenching tools, a cable plow, and cable warning tape. That’s why professional installers will use special test equipment to verify signal quality and cable integrity.
How do I protect direct buried fiber from water and rodents?
Choose direct buried fiber optic cables with gel that blocks water and jackets that protects against rodents. Placing a warning tape above the cable in the trench will help protect the cable from unintended digging. Routine inspections go a long way, as well.
What environmental factors should I consider before burying fiber?
Consider your soil type, drainage and risk of flooding, as well as freeze-thaw cycles. In the U.S., you should always call 811 before you dig in order to avoid damaging other underground utilities.
How often should buried fiber optic cables be inspected?
How often should buried fiber optic cables be inspected. Inspect for excessive signal loss, ground settlement or heaving, and other signs of damage. Early detection can help minimize repair expenses and ensure your network remains reliable.